I must admit, I am a greenhorn in photography. To be honest, the camera that I bought about a year-and-a-half ago is actually the first I have ever owned. Not surprisingly, most of my pictures were taken using the 'Auto' mode on the camera. But at times when my shots of flowers, for example, were bad, I will put my camera into 'macro' mode, hoping that somehow I will get some improvements in my shots since they are meant for closeups. But unfortunately there was none, despite me following the instruction as written in the user manual. And this includes the zooming part, i.e. the zoom indicator on the LCD display was always green.
My First Winning Closeup Shot

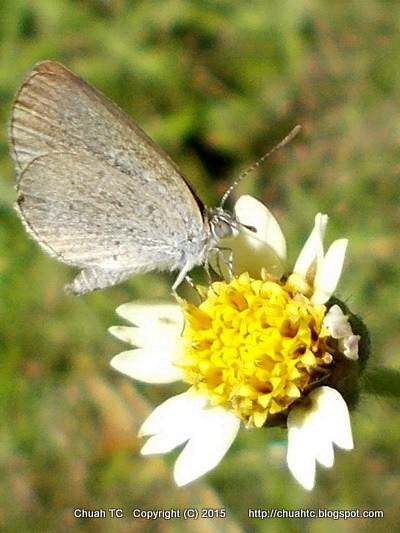
But about 2 weeks ago I did something different. I decided to do my own zoom by physically positioning my camera at about 6 inches away from the subject - a butterfly on a flower. I was take aback when I first viewed this picture on the camera's LCD display. The result was stunning; my first winning shot in 'macro' mode as you can see above. The fine details captured were just staggering, something that I have not expected since I was using a low end digital camera, a Nikon Coolpix L27. I think this shot could have been even better if I were to have used a tripod since I do not have steady hands. Obviously, camera with fancier macro lenses would give even better magnification and thus better closeup shots.
The Right Way
It is only after taking this shot that I have come to realised that I was doing it all wrong all along in 'macro' mode.
To capture great closeup shots, the camera must be placed as close as possible to the subject (constraint by the camera's limitations obviously) and NOT at 1 or 2 feet away like what I was doing previously. And this is actually the crucial step that made all the difference. The closer the camera is to the subject, the more the finer details are captured in the shots.
Really, this should have been emphasised in the camera's user manual. Photo rookies like me just do not know about these things.
There is no manual focus on my low end digital camera. Before the shots were taken, I will have to do the half-press trick so that the camera will auto focus on the subject. But sometimes the camera will focus on the wrong thing and the subject will come out blur. Taking an extra couple of shots as insurance is not a bad idea actually.
More Closeup Shots
Here are some additional closeup shots that I took following my first winning closeup shot above. I think I am hooked on closeup/macro photography.
Dragonfly

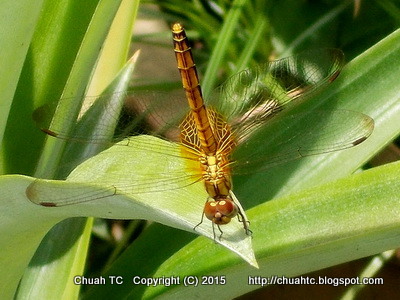
Most dragonflies will get nervous when I approach them for a closeup shot. At times they will just fly away (as butterflies will too). But at times, they will just fly off, make a loop and then rest on the same spot again.
The shot above was taken at about 10 inches away - I could not get any closer. This picture has been resized to 400 pixels in width because of the width limitations on my blog (and also to prevent slow loading time of this blog page). The original picture is about 1000 pixels in width.
This dragonfly was actually posing for me while this picture was take. It actually raised its abdomen up high (almost vertical), posing like how a model would. Thanks dragonfly.
Flowers Of Chinese Chives

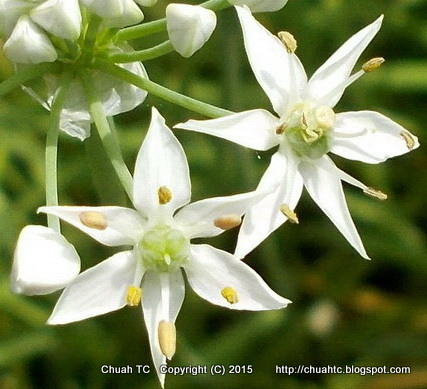
Taking this shot was fairly easy. I just have be sure that there is no breeze blowing in order to get a sharp picture. The actually size of each individual flower is about 1cm across.
An Insect On A Leaf

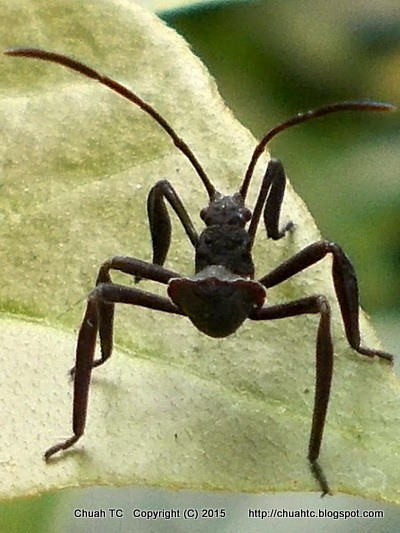
I have no idea what this insect is called. But it makes a great closeup shot. Its actual size is about an inch across, front to back.
0 comments:
Post a Comment